Good to Know Design Tips
Mailing Tips
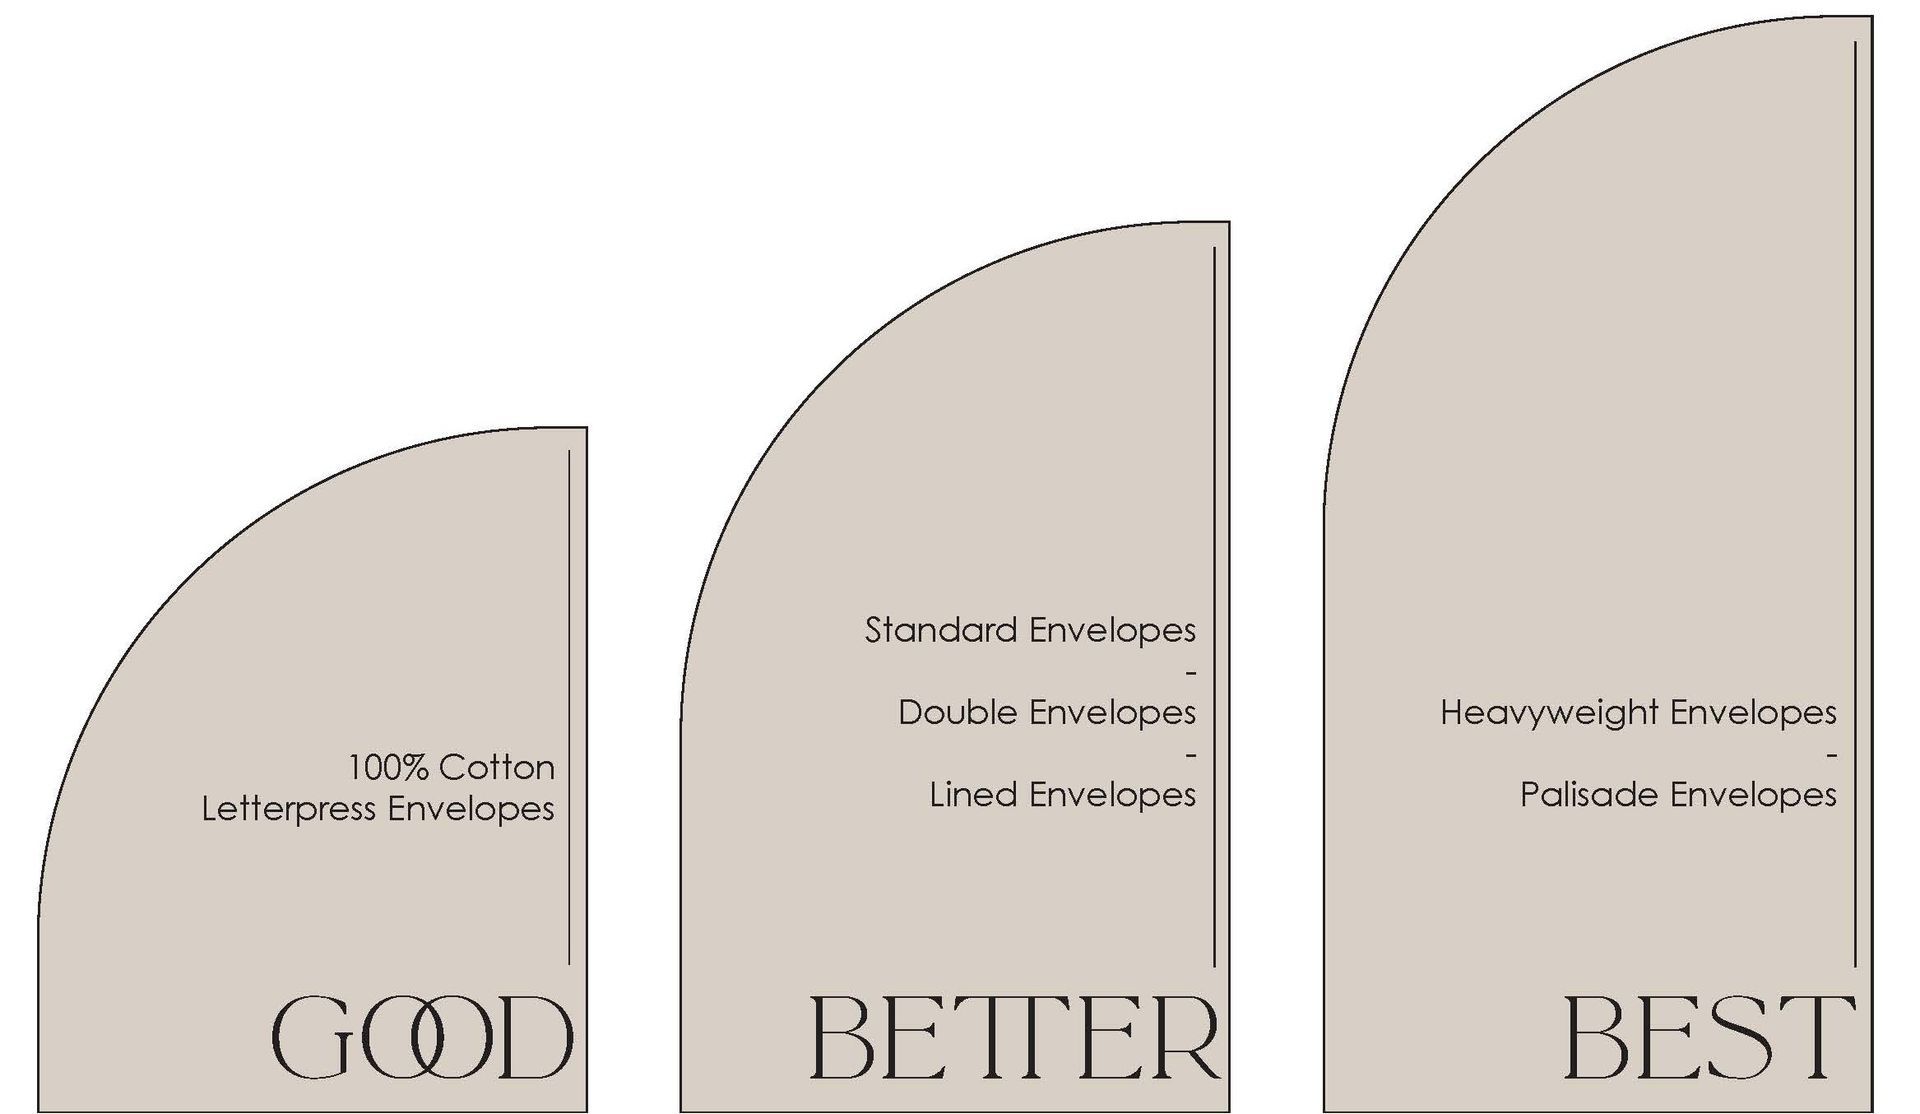
About our Envelopes
We offer a wide range of envelope styles to accommodate the many different types of Invitations we print. All of our products meet the standards and requirements defined by the US Post Office in size, thickness and rigidity.
Standard and Colored envelopes are a great option for any Invitation. Double Envelopes, Envelope Liners and our Heavyweight and Palisade options help provide extra protection.
Sending and Sealing
- Advise your clients how to properly stuff and seal their envelopes. (Make sure they don’t forget to stamp the Reply Envelopes!)
- We recommend double sided tape, an adhesive glue runner, or a permanent glue stick to ensure a good seal on the envelope. Easy stick tape is available on Square flap envelopes for an additional .30 cents per envelope.
- Using the incorrect amount of water can cause damage; too much and the gumline can be washed away, not enough, and the glue won’t stick consistently.
- Make sure the flaps are pressed down firmly once the envelopes are sealed.
- Get to know your local post office! Find a branch near you that will allow your clients to arrange for hand canceling. Although hand canceling doesn’t guarantee the envelopes won’t go through postal machinery at some point, it’s the best way to start them off on their journey.
- Make sure your clients take an assembled Invitation Suite to the Post Office to be weighed and measured for the correct postage amount.
- Postal scales can vary from branch to branch so the Invitations should be mailed from the same branch that estimated the postage amount.
- Keep in mind envelopes that are squares, oversized, rigid/thick, have non standard closures (wax seals, strings or tabs) and those being mailed Internationally will always require extra postage. An Invitation weighing two ounces but considered “non-machinable” will need enough postage to cover the two ounce rate and the non-machinable surcharge.
Stationery Works does not assume liability for any issues or damage during the delivery process.
Split Plates
Splitting plates is a process which applies most often to Letterpress and Foil printing. Split plates are when an item needs to be printed as though it is a two-color job even though there is only one ink color. This means two plates are created to run in two passes for the best print results.
The most common time it is beneficial to split art into two plates is when the artwork has a mix of thin lines with higher cover art. The press settings needed for high coverage are different compared to the typesetting. Fine lines of block and script text requires a lighter application of ink. High coverage designs require more ink and greater pressure applied by the press. Splitting the plates allows each pass to run with its optimal settings and create the best print results.
Photo Resolution
A high resolution photo is a must for any printed product to look its best!
Generally, the file size should be 1MB or greater and 300DPI or higher resolution. For reference, standard 4x6 prints need to be at least 1600 x 1200 pixels. If your photo is too low-resolution, it will appear pixelated, or blurry once printed.
- Check your photo’s resolution:
- On a PC: Right-click the file, select Properties, then the Details tab to find the DPI.
- On a Mac: Right-click the file, select "Get Info" to find the DPI or "Open With > Preview" then "Tools > Show Inspector" to find the DPI.
- On an iPhone or iPad: Open the Photos app, tap the photo, then swipe up or tap the "i" button to view details such as resolution (e.g., 4032 x 3024 pixels) and file size.
- Before submitting a photo, please zoom in at least 100%. If it does not look good on your screen at full size, it will not print well
- Is the photo blurry or grainy?
- Are there pixelated areas?
- Is the photo focused and sharp?
- We accept photos as JPEG, PNG, and TIFF files.
- Screenshots, word documents, or photos pulled from social media or websites are not acceptable images for printing
- It is important to remember photos printed will not always match the color of the photo on your screen.
- Screens are backlit and use RGB color, prints use CMYK ink. Colors will vary slightly.
- Image should match or be larger than the final print size dimensions
- We are unable to scale an image to be larger. If your photo extends to the edge of the paper add 0.125” bleed on all sides